Setting Up The Jobvite Integration
Our Jobvite integration allows for candidate data to be pushed from RippleMatch into Jobvite and may include fields such as name, email, phone number, and resume.
Integrating Jobvite
In order to set up your Jobvite integration, you will need to do the following:
-
-
Secret Key
-
API Key
-
-
The steps below will walk you through the process necessary to successfully complete your Jobvite integration.
Step 1: Generating Integration Credentials
To access your Jobvite API Key and Secret Key, you will need to reach out to your Jobvite point of contact who can provide you with the necessary information.
Step 2: Gathering Job IDs
While you're in Jobvite, navigate to the Requisitions tab, then select one of your active roles.

Copy and save the Job ID found in the URL. The Job ID will look like a series of letters and numbers that immediately follow '/summary/...' .
Repeat Step 2 for each of your active roles. Save these Job IDs for a future step.

Note: The Job ID is different from the Requisition ID found in the 'Details' tab.
Step 3: Integrate with RippleMatch
Log in to RippleMatch. Click the menu on the top right-hand corner. Click Integrations.
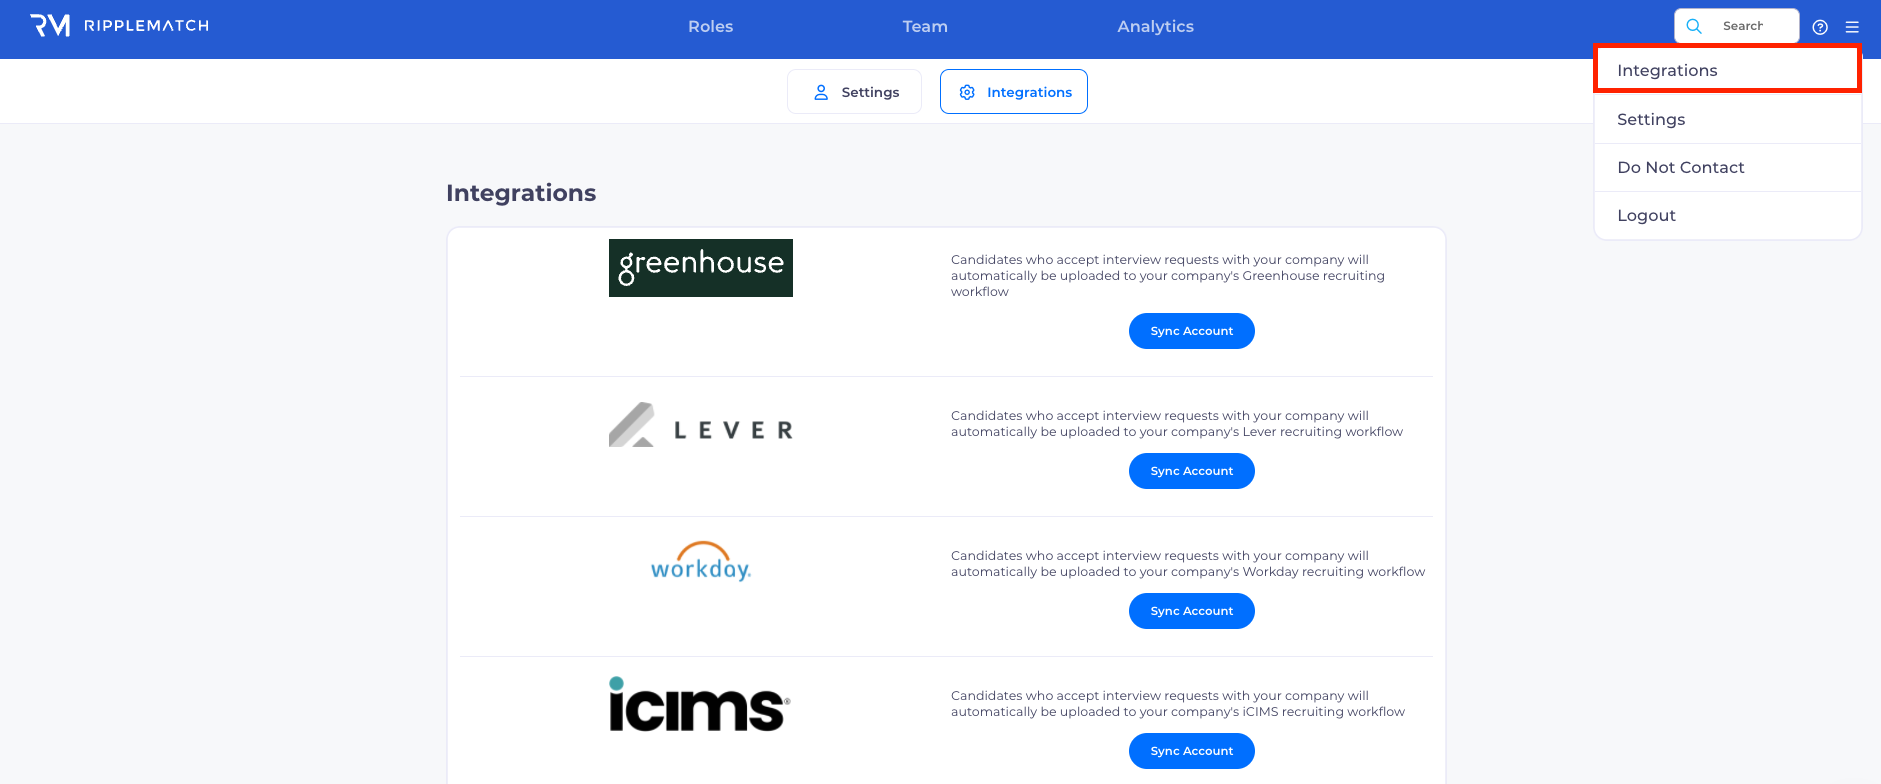
Scroll to the bottom of the page and click Other.

Click Configure.

Click Jobvite.

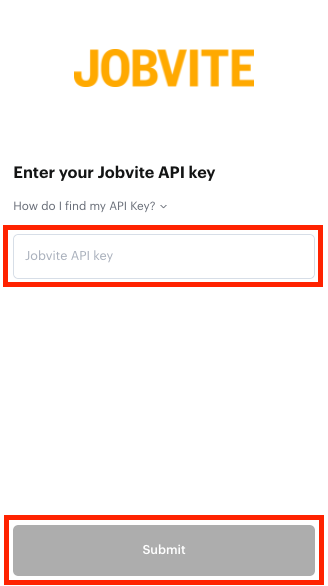
Enter in the API Key you gathered in Step 1 and click Submit.
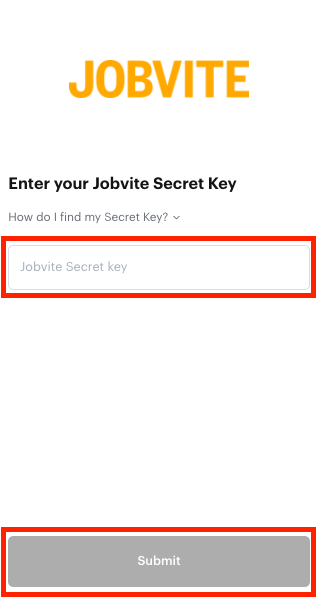
Enter in the Secret Key you gathered in Step 1 and click Submit.
Click Save and Continue until you get to the Role Mapping screen.

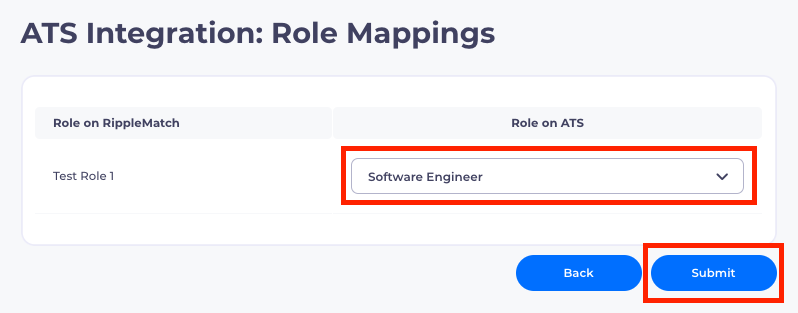
Next, map the roles on RippleMatch (left side) to your roles in Jobvite (right side) using the Job IDs you saved from Step 2. Then click Submit.
Once you've completed these steps, your Jobvite integration is all set and you now have a fully functional integration. As always, please reach out to our team if you need any assistance.
![1-RM.png]](https://resources.ripplematch.com/hs-fs/hubfs/1-RM.png?height=50&name=1-RM.png)